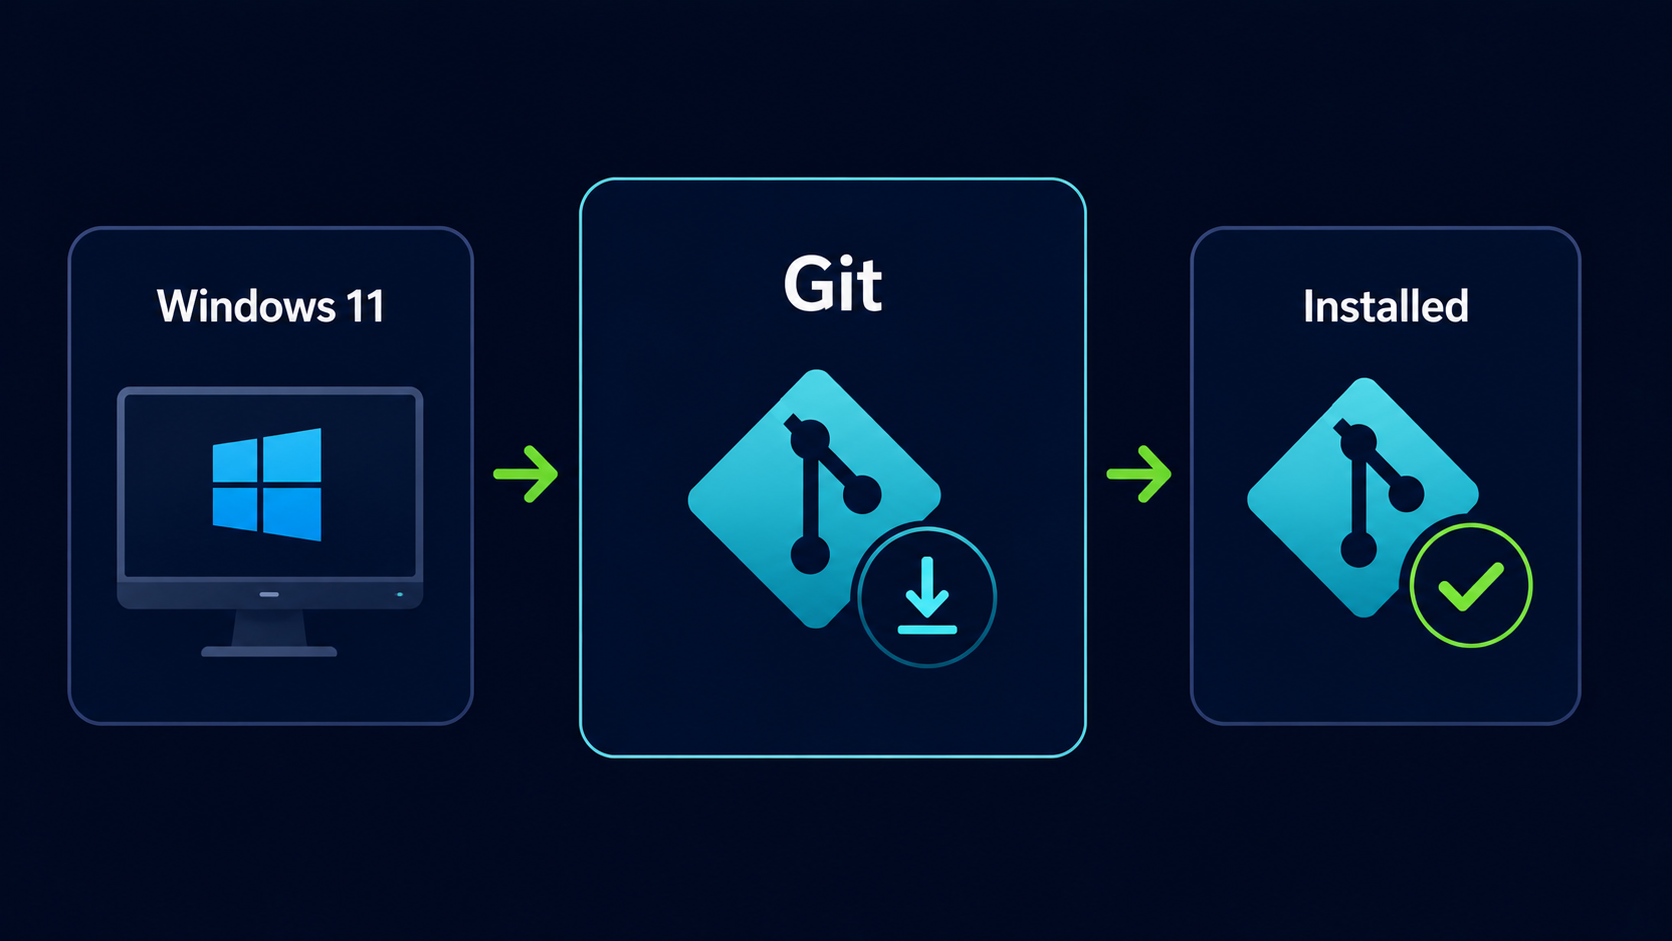
Installing Git on Windows 11
Download Git, install it using the recommended settings, and verify that Git is working correctly on Windows 11.
Introduction
Before you can create repositories, make commits, or track project history, Git must be installed on your computer. Fortunately, Git provides an official Windows installer that makes the process straightforward and beginner-friendly.
In this guide, you will download Git, install it using the recommended settings, launch Git Bash, and verify that Git is working correctly.
Download Git
Visit the Official Git Website
Open your web browser and navigate to the official Git website.
Always download Git from the official Git project website.
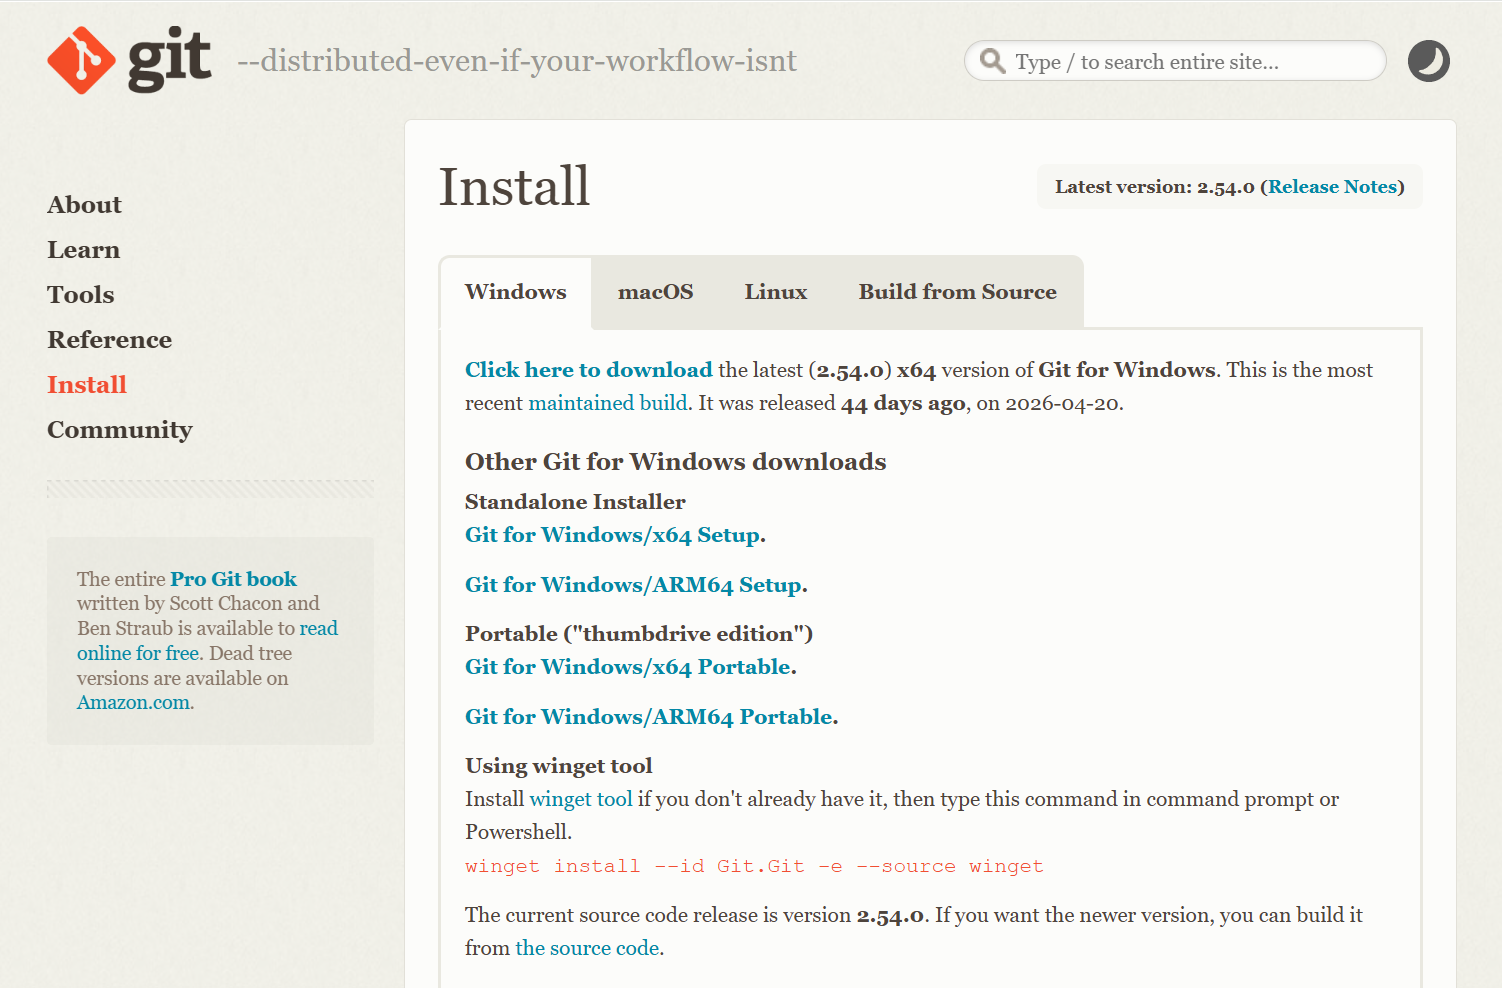
Download the Windows Installer
Click the Download for Windows button. The installer should begin downloading automatically.
The installer file is typically saved to your Downloads folder.
Install Git
Launch the Installer
Locate the downloaded installer file and double-click it to start the setup wizard.
Windows may display a User Account Control prompt asking for permission to continue.
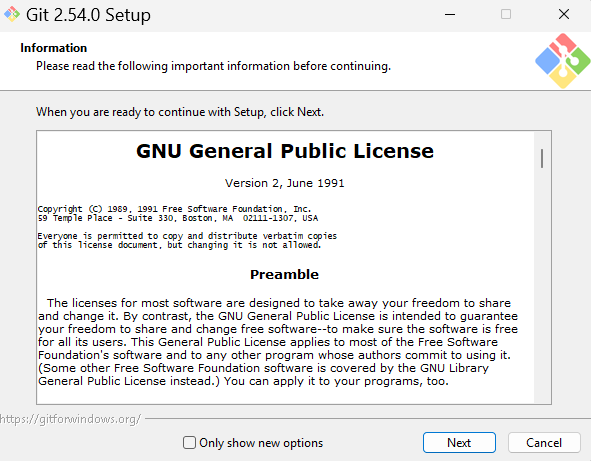
Accept the License Agreement
Review the license information and click Next to continue.
Git is open-source software distributed under the GNU General Public License.
Choose the Installation Location
Leave the default installation folder unchanged and click Next.
The default location works well for nearly all users.
Use the Recommended Default Options
Continue through the remaining setup screens using the recommended default settings.
The default configuration is suitable for most Git users and will work perfectly for this learning path.
Recommended for Beginners
Git includes many advanced configuration options during installation. If you are new to Git, the recommended defaults are the safest and simplest choice.
Complete the Installation
Click Install and wait for the installation process to finish. When the installation completes, click Finish.
Git and Git Bash are now installed on your computer.
Launch Git Bash
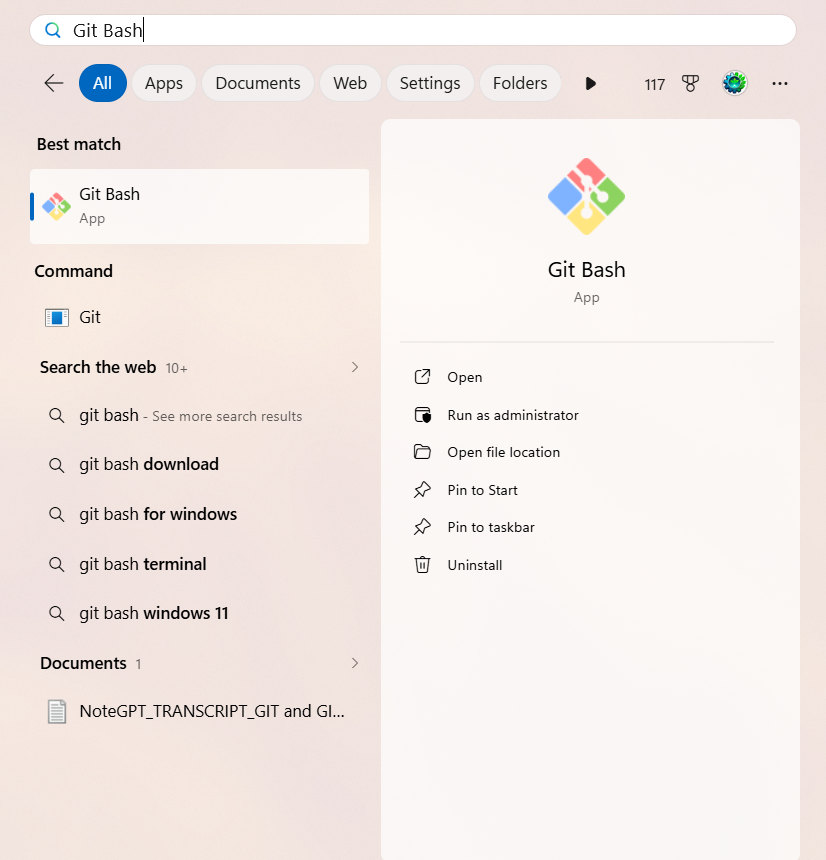
Open Git Bash
Open the Start Menu, search for Git Bash, and launch the application.
Git Bash provides a terminal environment where you can run Git commands.
Verify the Installation
The easiest way to confirm that Git is installed correctly is to ask Git to display its version number.
Run the Git Version Command
Enter the following command inside Git Bash and press Enter.
If Git is installed correctly, a version number will be displayed.
git --version[user@computer MINGW64 ~]
$ git --version
git version 2.51.0.windows.1
Components Installed with Git
The Git installer includes several tools. While you may encounter all of them over time, beginners primarily use Git and Git Bash.
| Tool | Purpose |
|---|---|
| Git | Tracks file changes and version history |
| Git Bash | Terminal environment for running Git commands |
| Git GUI | Optional graphical interface included with Git |
Common Installation Issues
Conclusion
Installing Git is a one-time setup process that provides access to one of the most important tools in modern software development. Once installed, Git can track project changes, record history, and help manage software projects of any size.
Git Bash provides a convenient environment for interacting with Git from the command line and is commonly used throughout professional development workflows.