Creating and Switching Branches
Learn how to create new branches and move between independent development timelines.
Introduction
In the previous guide, you learned that branches create independent lines of development. However, creating a branch is only the first step. To actually work inside a branch, you must switch to it.
In this guide, you'll learn how to create branches, switch between them, and understand how Git moves you between different versions of your project.
Switching branches is one of the most common Git operations and forms the foundation of modern development workflows.
Why Switching Branches Matters
Creating a branch gives Git a new timeline, but nothing changes until you move into that timeline. Switching branches tells Git which version of the project you want to work on.
Real World Example
Imagine you're building a website and decide to create a branch called dark-mode. You can continue working on the original website in main or switch into dark-mode to begin developing the new feature. Git lets you move between these timelines whenever you need.
Branch Switching Mental Model
Think of branches as parallel roads. Creating a branch builds a new road. Switching branches moves your vehicle onto a different road.
The files you see on your computer change to match the branch you're currently working in.
Simple Mental Model
Creating a branch builds a new timeline. Switching branches moves you into that timeline.
View Existing Branches
Before switching branches, it's helpful to see which branches currently exist.
Open Git Bash In Your Repository
Navigate to the repository you've been using throughout this learning path.
Use a repository that already contains at least one commit.
cd ~/my-first-projectView Available Branches
Use git branch to display all branches in the repository.
The current branch is marked with an asterisk.
git branch[user@computer MINGW64 ~/my-first-project (main)]
$ git branch
* main
The asterisk indicates that main is currently active.
Create A New Branch
Use git branch followed by a branch name to create a new branch.
Create A Feature Branch
Create a new branch for a feature you want to develop.
Use a descriptive branch name that clearly explains its purpose.
git branch dark-mode[user@computer MINGW64 ~/my-first-project (main)]
$ git branch dark-mode
[user@computer MINGW64 ~/my-first-project (main)]
$
Git created the branch, but you are still working on main.
Verify The Branch Exists
Run git branch again to confirm the new branch was created.
Both branches should now appear.
git branch[user@computer MINGW64 ~/my-first-project (main)]
$ git branch
* main
dark-mode
The branch exists, but Git still shows main as the active branch.
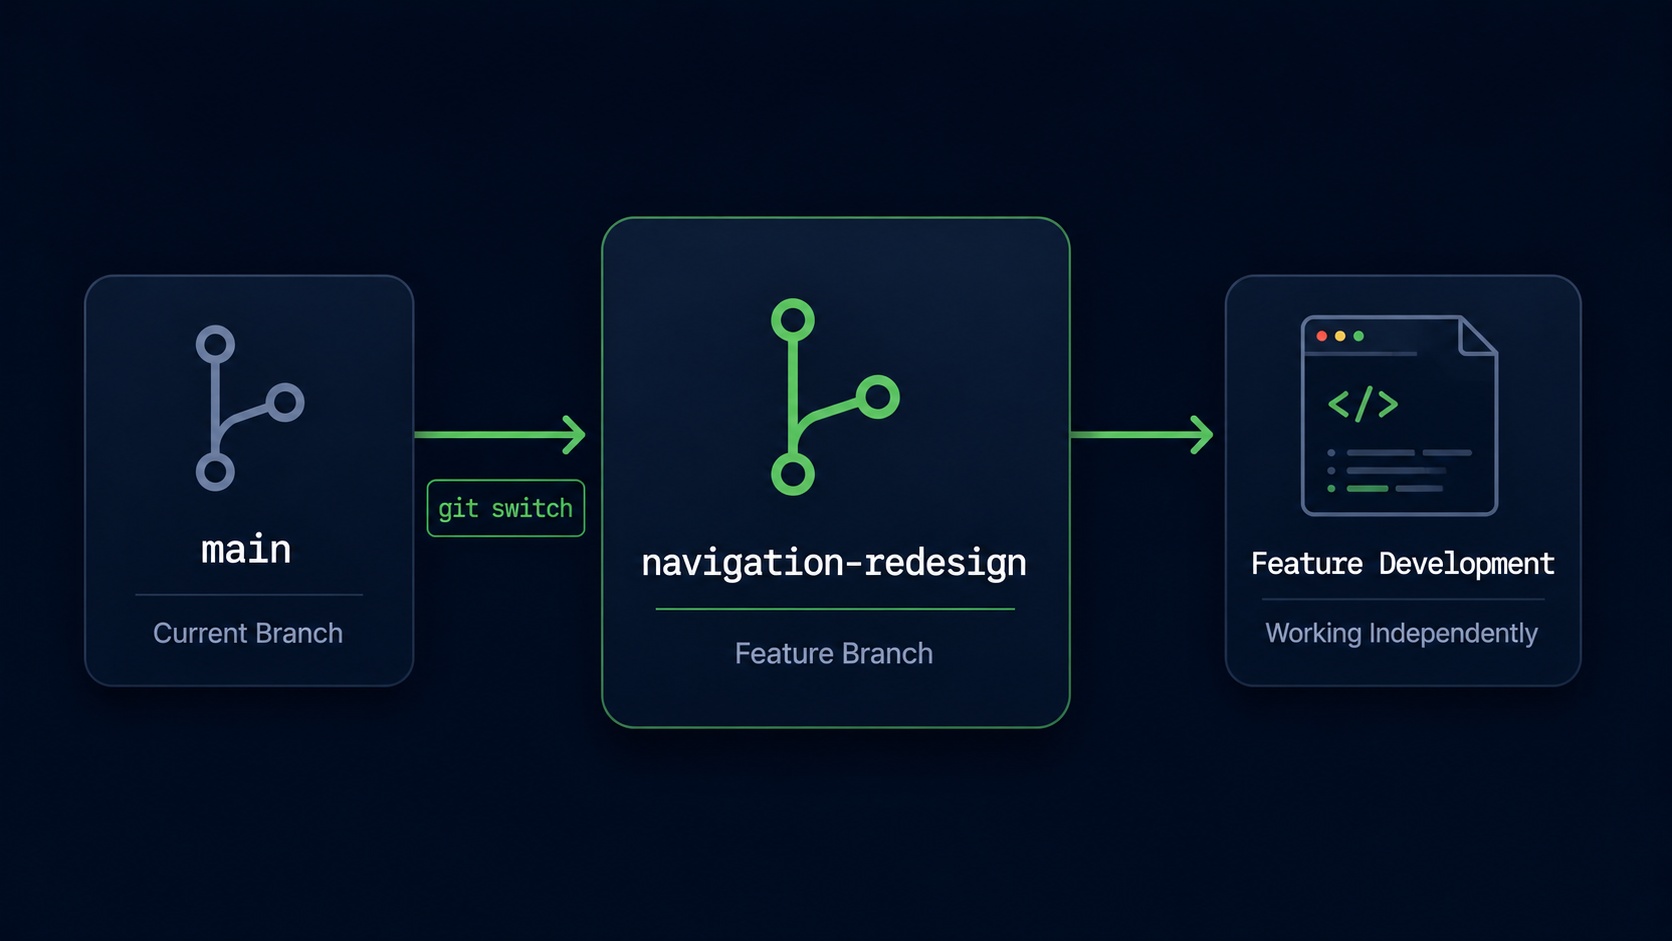
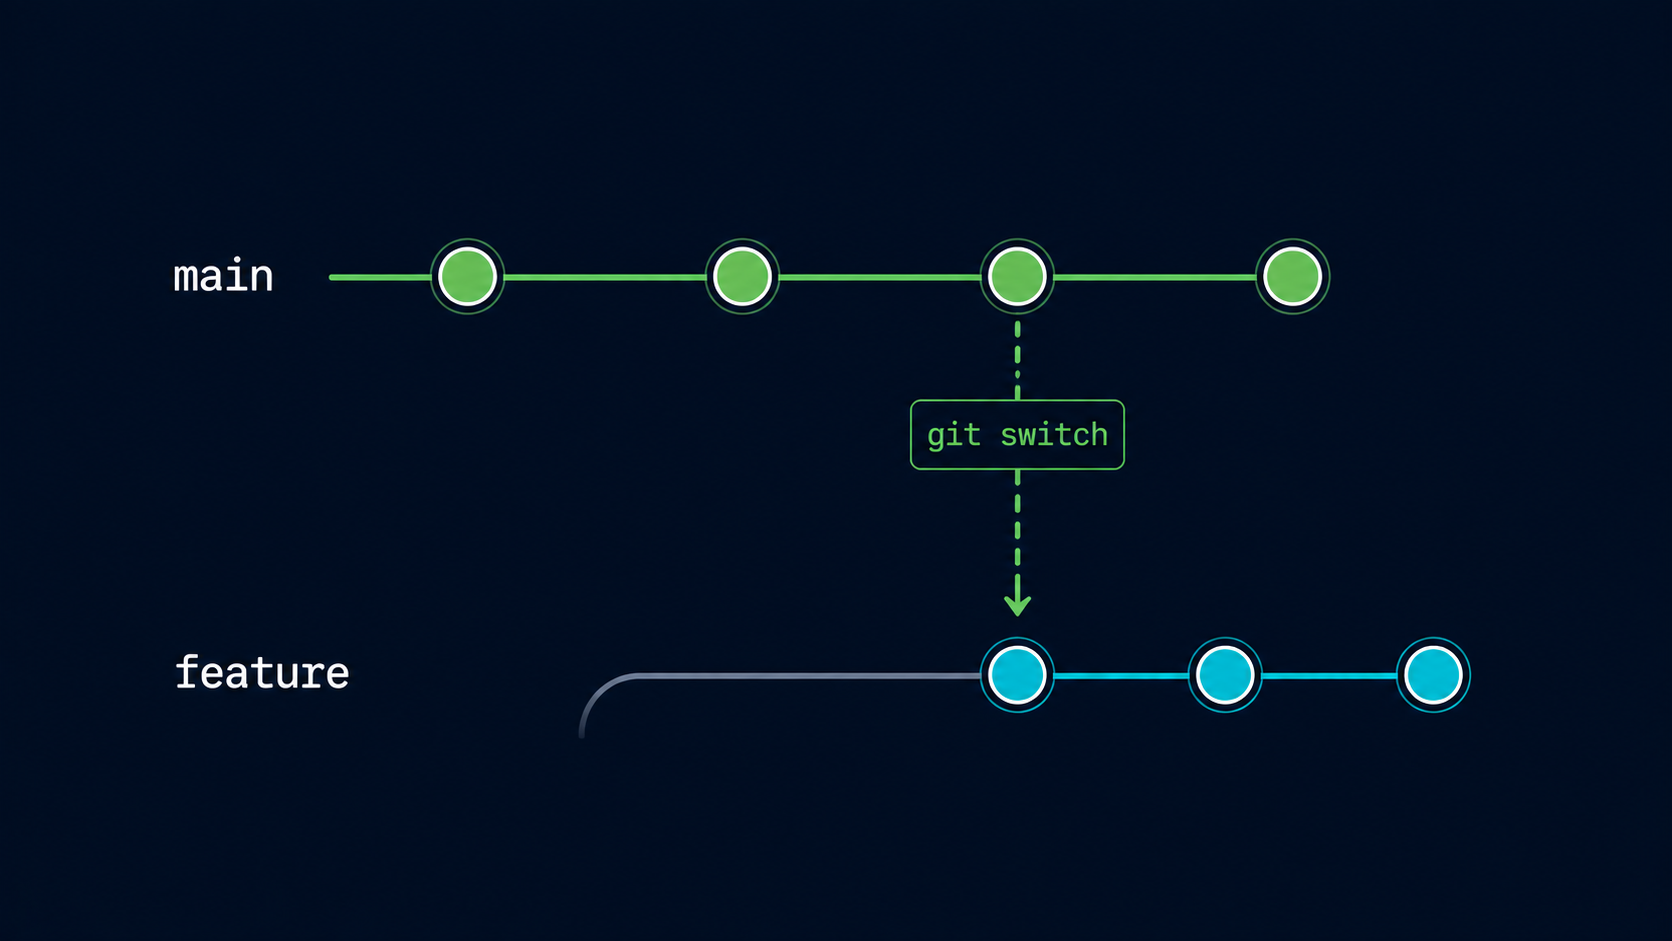
Switch To Another Branch
To start working inside a branch, use git switch followed by the branch name.
Switch To The New Branch
Move from main into the dark-mode branch.
Git updates your working files to match that branch.
git switch dark-mode[user@computer MINGW64 ~/my-first-project (main)]
$ git switch dark-mode
Switched to branch 'dark-mode'
Git has now moved you into the dark-mode branch.
Verify The Active Branch
Run git branch again to confirm the branch switch.
The asterisk should now appear beside dark-mode.
git branch[user@computer MINGW64 ~/my-first-project (dark-mode)]
$ git branch
main
* dark-mode
The asterisk now appears beside dark-mode, confirming that it is the active branch.
Switch Back To Main
You can return to the main branch at any time.
Return To Main
Switch back to the main branch.
Git restores the files associated with the main branch.
git switch main[user@computer MINGW64 ~/my-first-project (dark-mode)]
$ git switch main
Switched to branch 'main'
Git has moved you back to the main timeline of the project.
Create And Switch In One Command
Git provides a shortcut that creates a branch and immediately switches to it.
Create And Switch Simultaneously
Use git switch -c followed by a branch name.
This is the modern Git approach and is commonly used by developers.
git switch -c login-page[user@computer MINGW64 ~/my-first-project (main)]
$ git switch -c login-page
Switched to a new branch 'login-page'
Git created the branch and immediately moved you into it.
| Command | Purpose |
|---|---|
| git branch dark-mode | Create a branch |
| git switch dark-mode | Switch to an existing branch |
| git switch main | Return to main |
| git switch -c login-page | Create and switch in one command |
Understanding What Changes When You Switch
When you switch branches, Git updates your Working Directory to match the selected branch. Different branches may contain different files, different commits, or entirely different features.
This is why branches are so powerful. Each branch can evolve independently while remaining part of the same repository.
Feature Development Example
A dark-mode branch may contain an unfinished dark theme while main continues displaying the original website. Switching branches instantly changes which version of the project you see.
Common Beginner Mistakes
| Mistake | Why It Happens | Better Habit |
|---|---|---|
| Creating a branch but not switching to it | Forgetting branches are inactive until selected | Use git switch after creating a branch |
| Making changes on main accidentally | Forgetting to verify the active branch | Check git branch regularly |
| Using unclear branch names | Difficult to understand purpose | Use descriptive names |
| Confusing create and switch commands | Similar syntax | Practice each command separately |
Why This Step Matters
Branches become useful only when you can move between them confidently. Creating and switching branches allows you to work on multiple features, fixes, and experiments without affecting your main project.
This workflow is used by individual developers, startups, and large software companies alike.
Conclusion
In this guide, you learned how to create branches, switch between branches, return to main, and use git switch -c to create and switch in a single command.