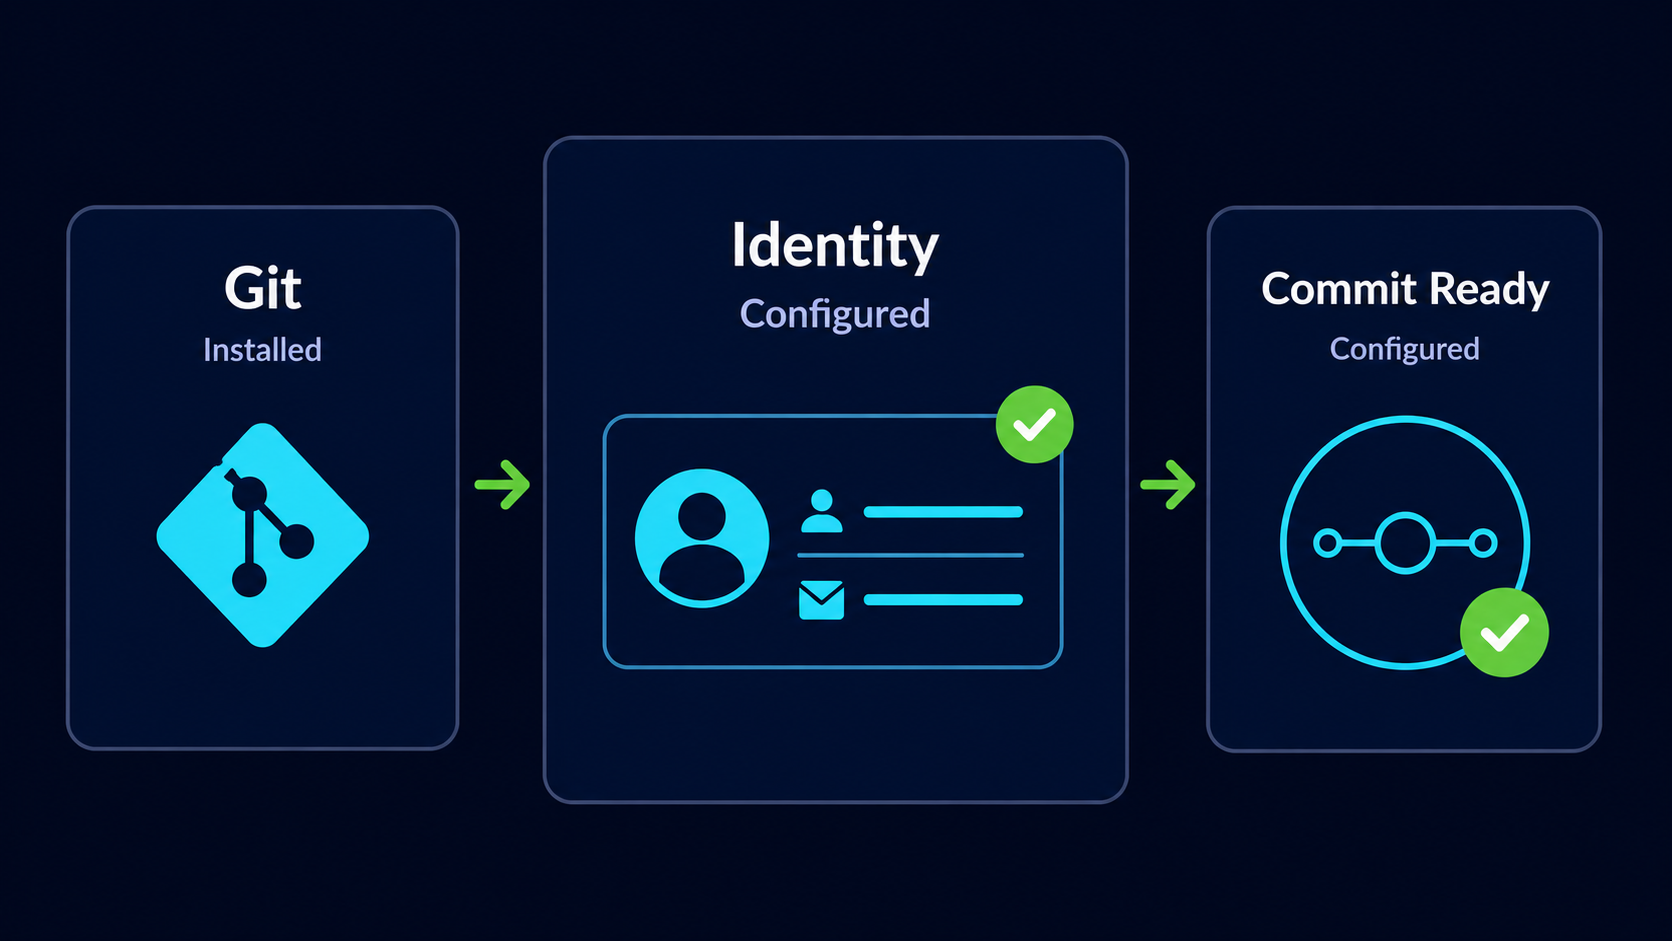
Configuring Git
Configure Git with your identity using Git Bash so your future commits are correctly recorded in project history.
Introduction
Git needs to know who is creating commits. Before you begin saving project history, you should configure Git with your name and email address so your work can be properly identified.
This setup only takes a few minutes, but it becomes part of every commit you create. In this guide, you will use Git Bash to configure your Git identity, set the default branch name, and verify that the settings were saved correctly.
Why Git Needs Your Identity
Every Git commit stores metadata. Metadata is information about the change rather than the file content itself. Git records details such as the author, email address, date, time, and commit message.
This information helps you understand who made a change and when it happened. It becomes especially important when multiple people work on the same project.
Real World Example
Imagine a team of developers working on the same website. If a bug appears after a recent change, Git can show who made that change, when it was made, and what files were affected.
Understanding Global Configuration
Git supports different levels of configuration. The most common beginner setup is global configuration, which applies to all repositories on your computer.
| Configuration Type | Scope |
|---|---|
| Global | Applies to all repositories on your computer |
| Local | Applies only to one specific repository |
Most developers configure their name and email globally because they usually use the same identity across their projects.
Beginner Recommendation
Use global configuration unless you have a specific reason to use different names or email addresses for different projects.
Open Git Bash
Git Bash is a terminal installed with Git for Windows. It gives you a Git-friendly command line environment where you can run Git commands and see Git output clearly.
Open Git Bash
Open the Windows Start Menu, search for Git Bash, and launch it.
Git Bash should be available if Git was installed successfully on Windows.
[user@computer MINGW64 ~]
$
Your prompt may look slightly different. The important part is that Git Bash is open and you can type commands after the dollar sign.
Configure Your Name
The first setting Git needs is your name. This name will appear as the author name in your commits.
Set Your Git Username
Run the following command and replace Your Name with your actual name.
Use the name you want associated with your Git project history.
git config --global user.name "Your Name"[user@computer MINGW64 ~]
$ git config --global user.name "Your Name"
This command usually does not print a success message. If Git shows no error, the setting was saved.
Configure Your Email Address
Git also records an email address for every commit. If you plan to use GitHub, it is usually best to use the same email address connected to your GitHub account.
Set Your Git Email Address
Run the following command and replace the email address with your own.
This email address will become part of your future commit history.
git config --global user.email "[your@email.com](mailto:your@email.com)"[user@computer MINGW64 ~]
$ git config --global user.email "[your@email.com](mailto:your@email.com)"
Like the name command, this command usually completes silently. No output means Git accepted the setting.
Set the Default Branch Name
Git can automatically name the first branch in new repositories. A common modern default branch name is main.
Set the Default Branch to Main
Run the following command to make main the default branch name for new repositories.
This affects new repositories you create after this setting is applied.
git config --global init.defaultBranch main[user@computer MINGW64 ~]
$ git config --global init.defaultBranch main
This setting helps keep your local repositories aligned with the common branch naming convention used by many modern GitHub repositories.
Verify Your Configuration
After configuring Git, you should verify that the settings were saved correctly.
View Your Git Configuration
Run the following command to display your Git configuration.
This command shows the settings Git currently knows about.
git config --list[user@computer MINGW64 ~]
$ git config --list
user.name=John Smith
user.email=[john@example.com](mailto:john@example.com)
init.defaultbranch=main
Check Your Name Email and Default Branch
Look for user.name, user.email, and init.defaultbranch in the output.
These values should match the settings you entered.
If your name, email, and default branch setting appear correctly, Git has been configured successfully.
Check Individual Settings
You can also check individual settings one at a time. This is useful when you only want to confirm a specific value.
Check Your Git Username
Run the following command to display only your configured Git username.
This should return the name you entered earlier.
git config user.name[user@computer MINGW64 ~]
$ git config user.name
John Smith
Check Your Git Email
Run the following command to display only your configured Git email address.
This should return the email address you entered earlier.
git config user.email[user@computer MINGW64 ~]
$ git config user.email
[john@example.com](mailto:john@example.com)
Configuration Mental Model
Think of Git configuration as setting up your digital signature. Once your name and email are configured, Git automatically attaches that identity to the commits you create.
| Setting | What It Controls |
|---|---|
| user.name | The author name saved with commits |
| user.email | The author email saved with commits |
| init.defaultBranch | The first branch name for new repositories |
These settings do not create commits by themselves. They simply prepare Git so that future commits can be recorded with the correct author information.
Common Beginner Mistakes
Git configuration is simple, but a few small mistakes can cause confusion later.
| Mistake | Cause | Solution |
|---|---|---|
| Using the wrong email address | Typo or different account email | Re-run the email configuration command |
| Forgetting quotation marks around names | Names with spaces may not be interpreted correctly | Put the full name inside quotation marks |
| Not verifying the configuration | Mistakes are not noticed immediately | Run git config --list after setup |
| Expecting configuration to create a repository | Configuration only saves settings | Use git init to create repositories |
Why This Step Matters
Git configuration gives future commits the correct identity information. This makes project history easier to understand and helps teams know who made each change.
A properly configured Git environment also prevents unnecessary warnings when you begin creating commits.
Conclusion
In this guide, you configured Git with your name, email address, and default branch name using Git Bash. You also verified the settings and learned how Git uses this information to identify future commits.