How to Install Visual Studio Code on Windows 11
Install Visual Studio Code on Windows 11 and prepare your computer for coding, editing project files, using extensions, and working from the terminal.
What Is Visual Studio Code?
Visual Studio Code, often called VS Code, is a free code editor from Microsoft. It is widely used for web development, programming, editing configuration files, working with Git, and managing project folders.
VS Code supports many languages including HTML, CSS, JavaScript, PHP, Python, SQL, JSON, and more. It also has an extension marketplace that lets you add extra features for your specific development workflow.
Download Visual Studio Code
Open the Official Visual Studio Code Website
Open your web browser and go to the official Visual Studio Code website.
https://code.visualstudio.com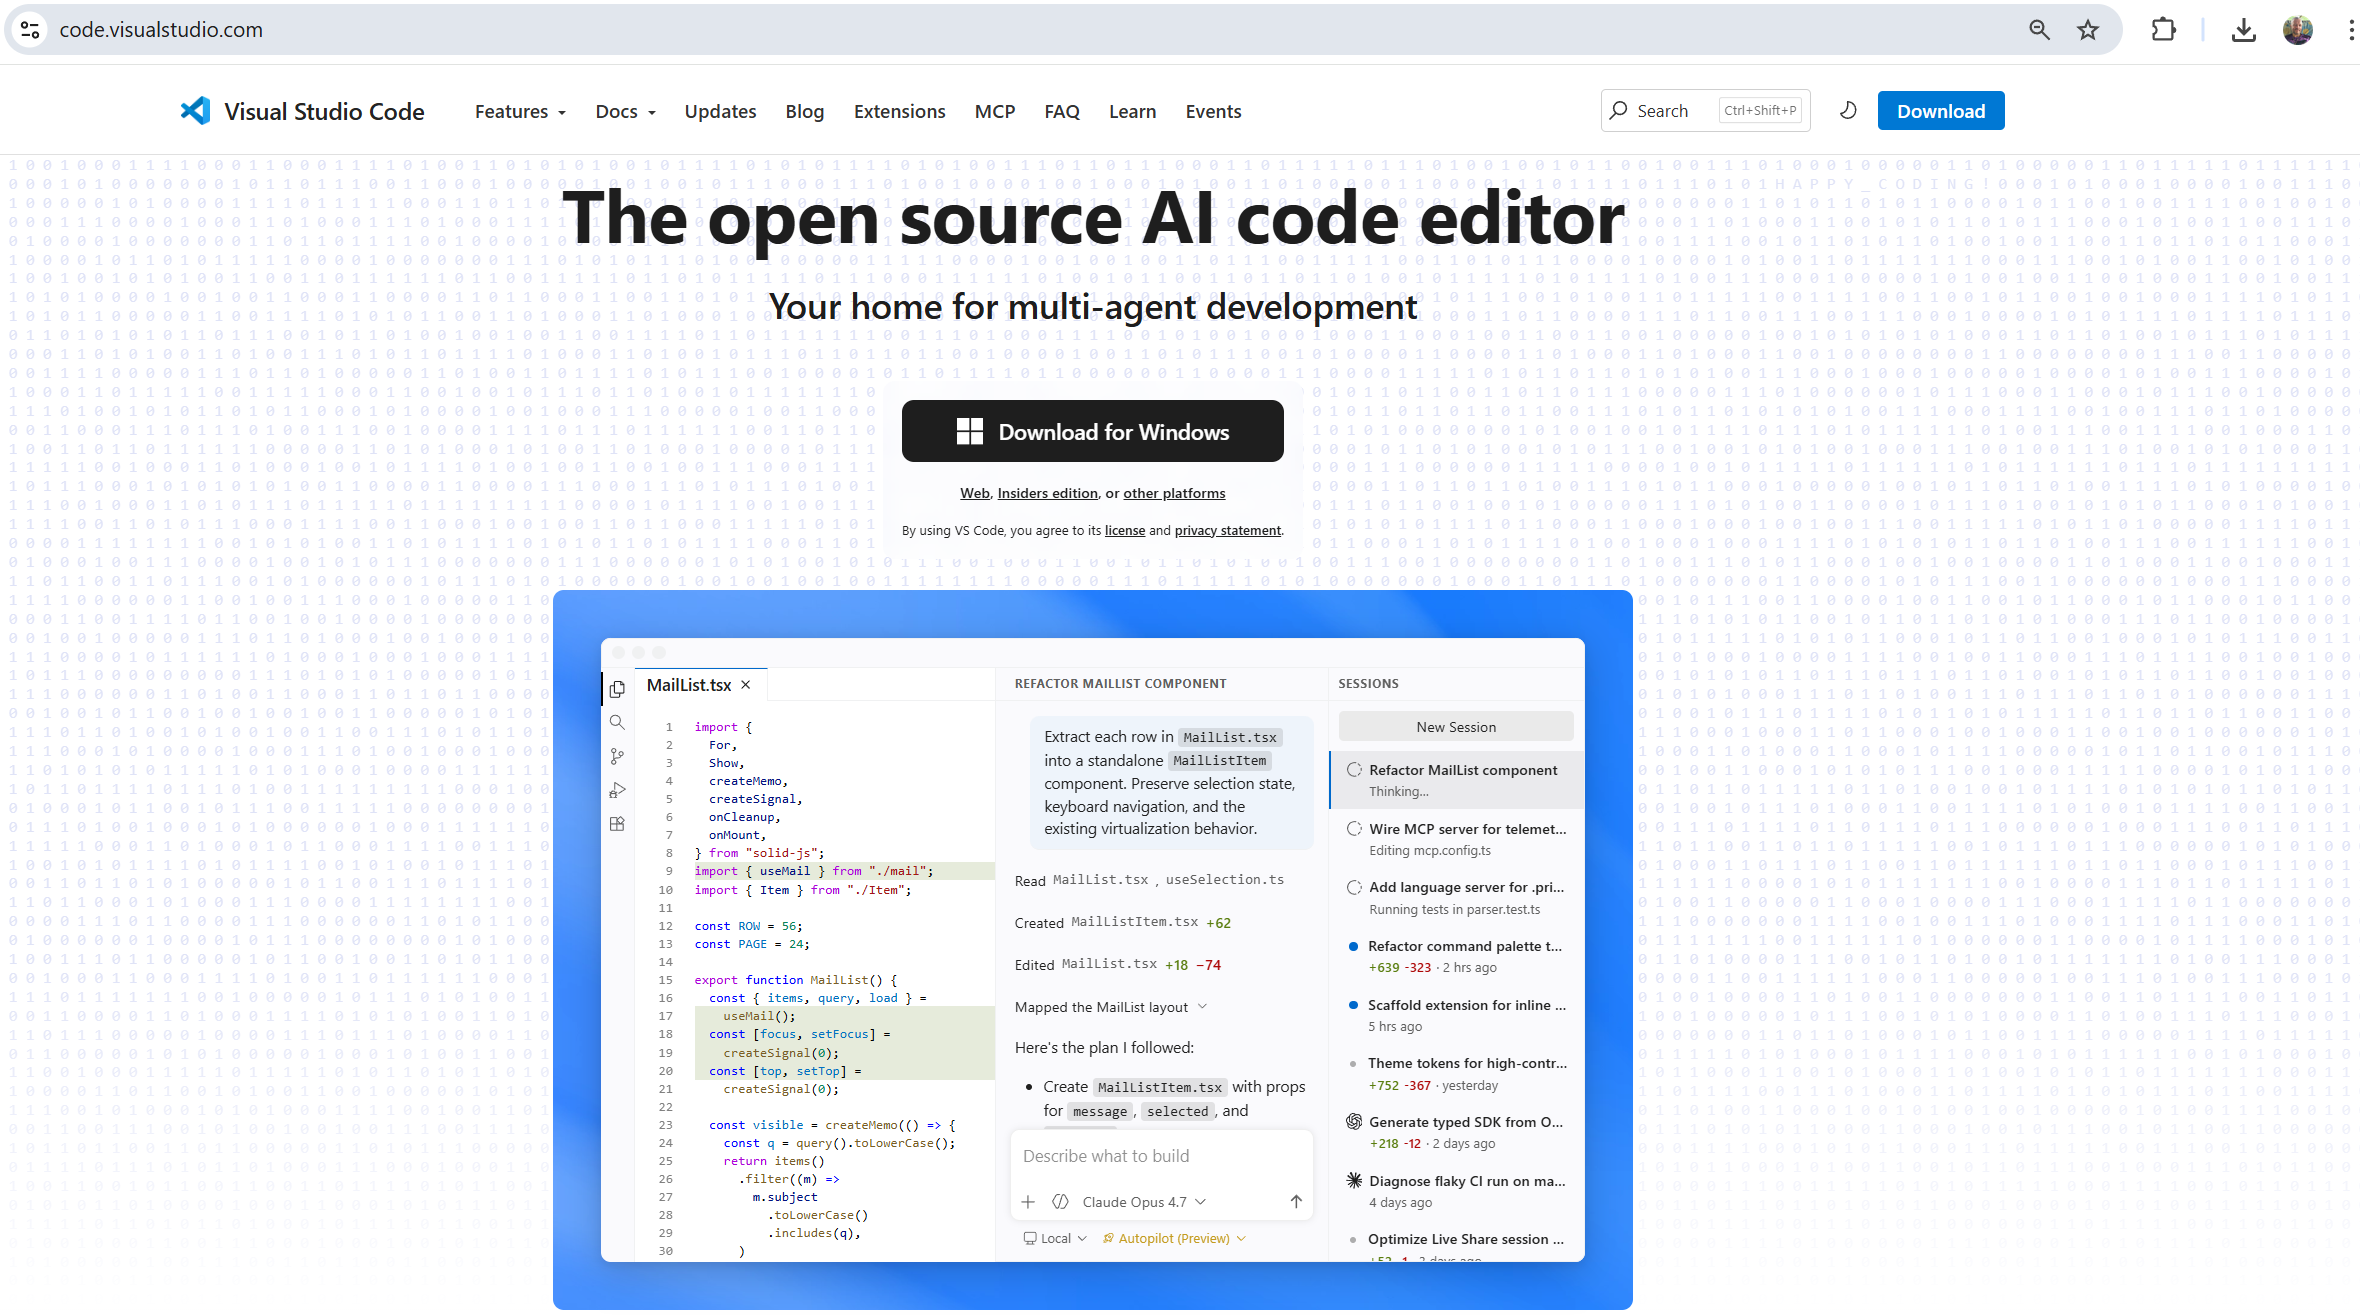
Download the Windows Installer
Click the Download for Windows button. Your browser will download the Visual Studio Code installer to your computer.
Install Visual Studio Code
Open the Downloaded Installer
Open your Downloads folder and double-click the Visual Studio Code installer file to begin the installation process.
Accept the License Agreement
Select the option to accept the agreement, then continue to the next screen.
Keep the Default Installation Location
Leave the default installation folder selected unless you specifically want to install Visual Studio Code somewhere else.
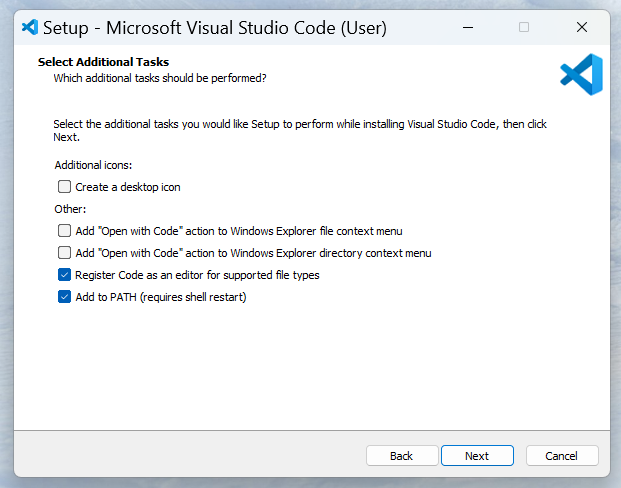
Select the Recommended Additional Tasks
On the Additional Tasks screen, keep the recommended options enabled. The most useful option is adding Visual Studio Code to PATH, which allows you to launch VS Code from the terminal using the code command.
Start the Installation
Click Install and wait for the installer to copy the required files to your computer.
Finish the Installer
When the installation is complete, leave the option to launch Visual Studio Code enabled and click Finish.
Launch Visual Studio Code
Open Visual Studio Code
If VS Code did not open automatically, open the Windows Start Menu, search for Visual Studio Code, and launch it.
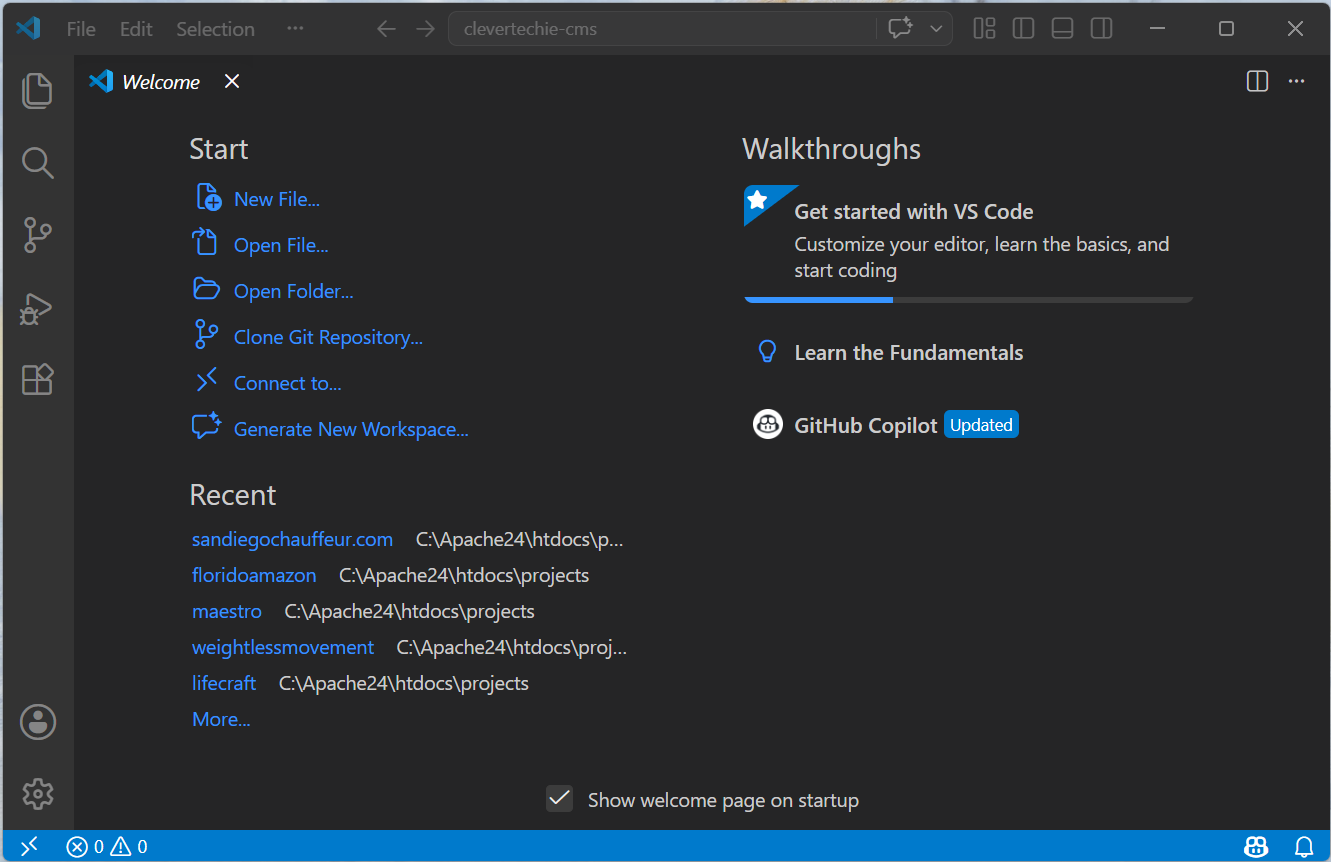
Confirm That VS Code Opens Correctly
Make sure the Visual Studio Code window opens without errors and displays the Welcome screen or editor interface.
Open a Project Folder
Select Your Project Folder
Choose the folder where you want to store or edit your project files, then click Select Folder.
Install Useful Extensions
Extensions add extra features to Visual Studio Code. You can install language tools, formatters, themes, Git helpers, and development utilities from the Extensions panel.
Open the Extensions Panel
Click the Extensions icon in the left sidebar or press Ctrl + Shift + X.
Search for Helpful Extensions
Search for extensions that match your work. For web development, useful examples include PHP Intelephense, Live Server, Prettier, and GitLens.
Verify the Code Command
Open Command Prompt or PowerShell
Open the Windows Start Menu, search for Command Prompt or PowerShell, and launch it.
Check the VS Code Version
Run the code --version command to confirm that Visual Studio Code is available from the terminal.
code --versionOpen a Folder from the Terminal
cd C:\ProjectsOpen the Folder in VS Code
Use the code command followed by a period to open the current folder in Visual Studio Code.
code .Conclusion
You have successfully installed Visual Studio Code on Windows 11, opened the editor, selected a project folder, installed extensions, and verified the code command from the terminal.